Wednesday, June 8, 2011

Fluffly, sweet heaven!


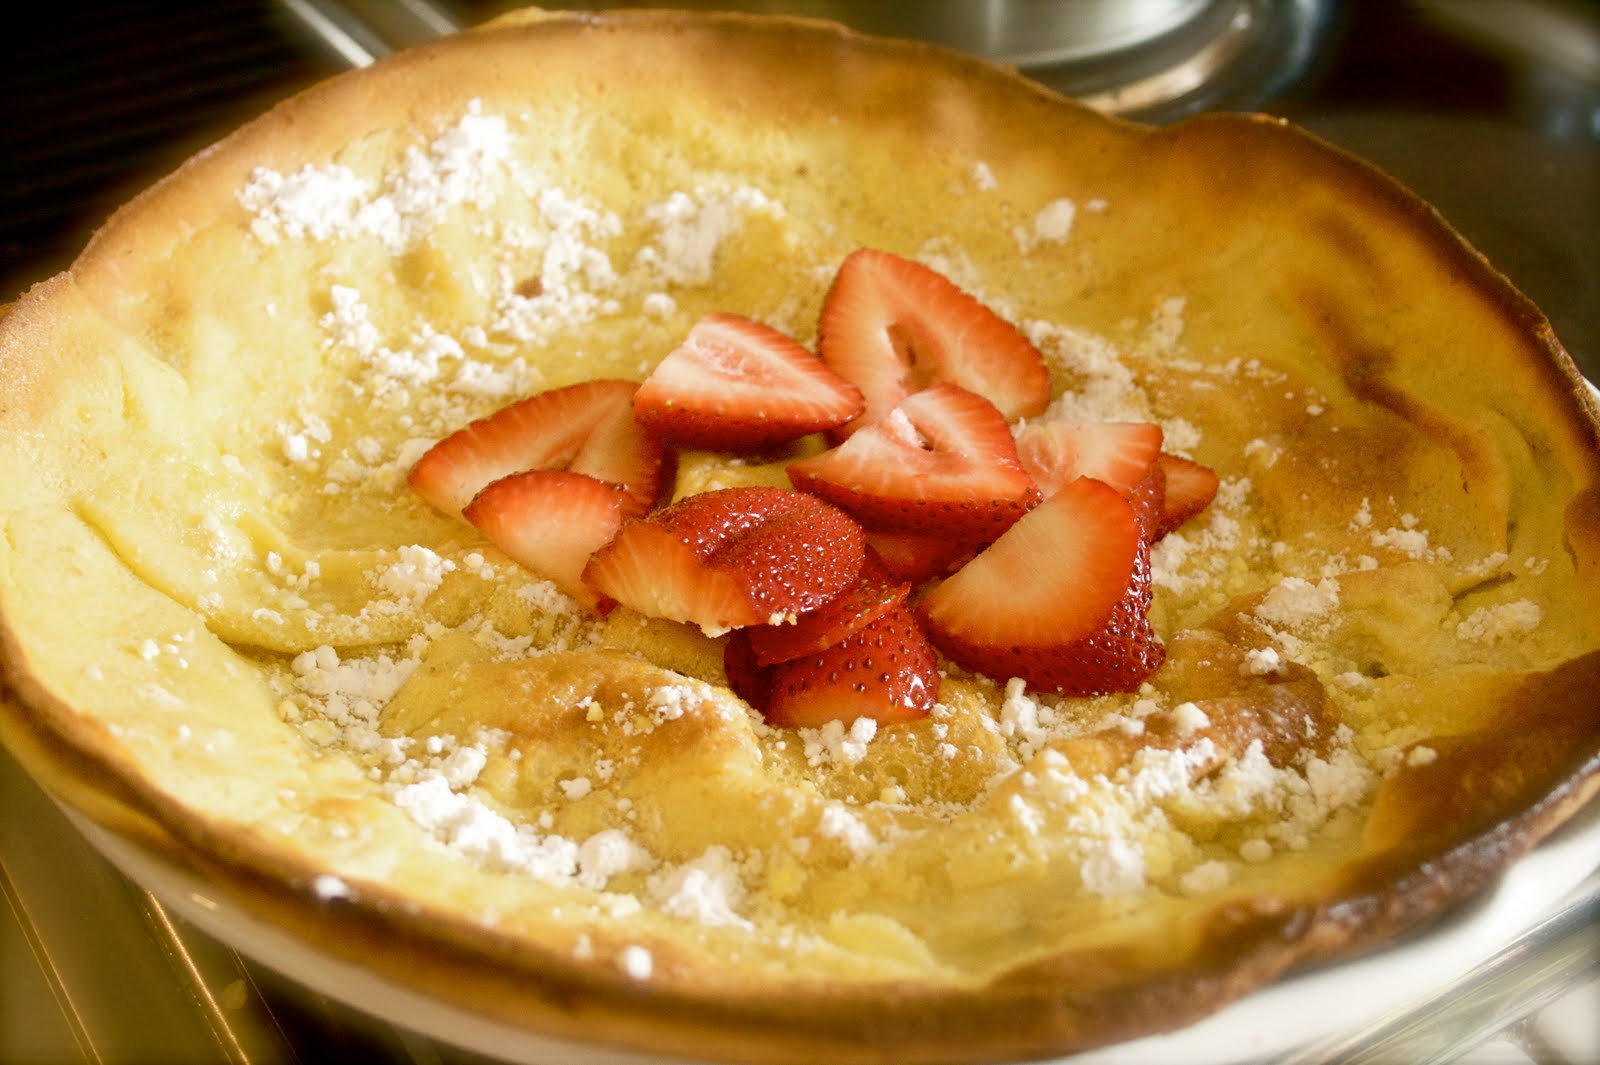
German pancakes are kind of like a mixture of pancakes and crepes, but with a BANG! Dusted with powdered sugar and topped with fresh strawberries or done the more traditional way, powdered sugar and fresh squeezed lemon, either way you can't lose!!! Plus they are incredibly easy to make and let's not forget the fun 'bowl' shape:) I'm craving one just typing this, ahhh!

German Pancake Recipe~


Ingredients

* 3 large eggs
* 1/2 cup all-purpose flour
* 1/2 cup milk, preferably whole
* 1/4 teaspoon kosher salt
* 1/2 teaspoon vanilla extract
* 2 tablespoons unsalted butter
* 1/4 cup granulated sugar
* 2 tablespoons confectioners' sugar

Directions

1. Heat oven to 400° F. In a large bowl, whisk the eggs to combine. Add the flour and whisk until smooth. Add the milk, salt, sugar and vanilla and mix until incorporated; set aside.
2. Add the butter to a large cast-iron skillet and transfer to oven until the butter melts. Remove from oven and quickly pour the batter into the hot skillet. Return to oven and bake until the pancake is puffed and golden, about 15 minutes.
3. Squeeze a fresh lemon wedge over pancake and dust with the confectioners' sugar.

My oldest enjoying her German Pancake, but mostly the powdered sugar;0

Monday, May 2, 2011

Chalk board DIY...


I have SO many old frames that are not being used. So I thought, why not transform an empty frame into a cute chalkboard for our kitchen nook? Well, in a matter of minutes, that's exactly what I did. This project is great because it's something you can do over the weekend and is both inexpensive and easy! Find an old large frame and remove the glass. Then what I did was just paint the thin wooden back on the frame that is used to hold the picture in. I painted one coat, making sure the lines were all going in the same direction, then let dry for 4 hours and paint another coat and let that dry. After the paint has dried, put the backing in the frame and presto, you're done! But for best results, let cure for 3 days before you write on it:) Use a bright colored frame or even spray paint an old wooden frame and makes a great gift for a child's bedroom or art room! The possibilities are endless! Have fun!!!

Tuesday, April 26, 2011

Spring 'Pear and Pecan' Salad

It seems like as the weather starts to get nicer, our meal options change from the hearty 'stick to your guts' food, to the 'light and healthy' foods. Especially with all of the fresh, delicious fruits and veggies coming into season, how can you not want to cook with them!? This salad is easy, flavorful and fresh! I got this recipe from my aunt when we went to visit my Dad's family in Washington, and it was a BIG hit, so thanks Aunt Shannon:)


~Spring Salad Mix with Baby Spinach

~Blue Cheese Crumbles

~Candied Pecans

~Light Champagne Dressing

~Ripe Bartlett Pear (1 sliced thin)

Add all ingredients together in a medium sized bowl, pouring the dressing on top and then toss to mix! Enjoy!

Thursday, March 31, 2011

My Little Artist...

My oldest, Sophia (3), LOVES to create as well, which only makes this Mommy beam with delight! Her creations come in the form of play dough characters, finger paintings, and marker masterpieces! I thought I would share with you some of her latest drawings she did with the new markers I bought her. I asked her what each picture was called, these are the titles she gave them:) Enjoy!

'Floating Bubbles'

'Dinner'

'Blue Paint'

'The Park'

Saturday, March 12, 2011

Time flies when you're havin' fun!

I have become a bit of a night owl lately, and that is due to the fact that late at night is the only time that I can have a few hours to just focus on my projects. And as you know, I love to do any form of art! So when I photographed my friend wearing the jewelry I had created, I was in heaven. I got the pleasure of doing my two favorite passions, designing jewelry and photographing. Now I'm not a professional of either, nor am I close, but I enjoy doing them both so much that I tend to get lost in my focus and the time slips away, as did happen when editing these photos, lol. Because my jewelry was the focus of the shoot, I only used the pictures that focused mostly on my jewelry on my Etsy site, however, these ones are equally special and beautiful of my dear friend and I wanted to share a few with you:)


Thanks again Court for modeling for me. You did an awesome job and I had so much fun spending the day with you! Love ya!

Wednesday, March 2, 2011

Quick Fix!

Have you ever had a zipper pull come off, or you found a cute sweater at a thrift store, but it had no zipper pull? That was the case with this little, black, fleece Old Navy sweatshirt I found for Peyton at a local thrift store. It looked so warm and cozy and it was only $2.99, so I had to get it! But when I got up to the register to pay for it, the checker noticed it was missing it's zipper pull, which if you have ever experienced this, makes it quite the chore to zip and unzip the zipper (a bit redundant, lol). She suggested that I just make one and it would probably be an easy fix! Well, I accepted the challenge and went home, grabbed a few tools and beads, and in (no joke) 5 minutes, Peyton's 'New' sweatshirt was fixed, bedazzled and ready to wear!

Here's the Old Navy black fleece sweatshirt $2.99

(Missing the zipper pull)

Here's the solution in a few simple steps and five minutes time:

Thread Sterling Silver wire through the opening in the zipper and wrap it around the long end of the wire about 8 times to secure

Add a few beads. In this case I added two silver seed beads and a fake pearl bead.

At the end to finish it, add a small charm of your choosing. I loved this simple brushed metal 'dream' charm and thought it would make the perfect zipper pull!

Thursday, February 10, 2011

Fix it and Forget it!


As a mom of two busy toddlers (Sophia 3, and Peyton 1) I rarely have a meal planned come dinner time. You will usually find me opening the fridge, opening the pantry cupboards and then possibly the freezer to see what I can pull together for both a healthy and appealing meal for our little family of four.
Don't get me wrong I love to cook, however, finding the time right now is quite the challenge. My favorite type of cooking is baking desserts and treats and in turn, eat them almost entirely myself. I was given a crock pot for my birthday from my in laws and since then (Dec.22nd), it had been sitting under my desk still in the box collecting dust. This wasn't because I didn't want to use the thing, but purely because I didn't really know how. My sister in law cooks with hers quite regularly and swears by it. She says it's so easy and makes the most juicy tender meat dishes.
So I went for it! I cut open that big box, set it on the counter and began pouring ingredients in (from a recipe of course). After that, I simply put the temp on low and left it to do it's thing. Had I known this thing was magic, I would have been using one long ago. My very first recipe, which has quickly become my favorite is the one I'm about to share with you, and trust me it's as easy to make as it is delicious!

Makes: 4 Servings
Prep. Time: 5 Minutes!
Cooking Time: 4-8 hours
Ideal Slow Cooker Size: 3-Quart

Ingredients:
-1 Tbsp. hot chili sesame oil
-4 Large chicken thighs
-3 cloves garlic, sliced
-1/2 cup brown sugar
-3 Tbsp. soy sauce

Directions~
1. Slice 3 garlic cloves and set aside

2. Spread oil around bottom of crock pot, place chicken thighs in slow cooker and sprinkle garlic slices over the top of the chicken.

3. Crumble brown sugar over the top.

4. Drizzle with the soy sauce. Cover and cook on low 4-8 hours, or until thighs are tender, but not dry.

5. Serve over rice, prepared with juice from the cooked chicken instead of water, or coconut rice is another great option!

ENJOY!